

Halloween is a time for creativity, fun, and a little bit of spookiness. Whether you’re a parent looking to entertain kids, a teacher planning classroom activities, or an adult wanting to add a festive touch to your home, easy Halloween crafts provide a perfect outlet for your imagination. From simple projects that require minimal supplies to more elaborate decorations, there’s something for everyone to enjoy.
Let’s dive into some fantastic ideas that will make your Halloween celebrations even more special.
Essential Supplies for Halloween Crafting
Having the right supplies can make crafting more enjoyable and efficient. Here’s a checklist of essential materials you’ll want to have on hand:
- Construction paper (various colors)
- Markers and crayons
- Glue and tape
- Scissors
- Recycled materials (cardboard, jars, etc.)
- String, yarn, or ribbon
- LED tea lights for safety
- Paints and brushes (optional)
Quick & Easy Halloween Crafts
This section highlights some of the simplest Halloween crafts that can be done quickly, perfect for both kids and adults. These projects require minimal supplies and can often be completed in under an hour.
#1 Paper Plate Ghosts

Materials: Paper plates, black marker, white paint, string.
Instructions: Paint the paper plates white. Once dry, draw ghost faces with the black marker. Cut a piece of string and attach it to the top to hang.
#2 Pumpkin Balloons

Materials: Orange balloons, green construction paper, tape.
Instructions: Inflate the orange balloons and draw jack-o’-lantern faces with a black marker. Cut leaves and vines from green paper and tape them to the top.
#3 Spider Webs with Yarn
Materials: Black yarn, scissors.
Instructions: Cut multiple lengths of yarn and glue them onto a piece of cardboard in a web pattern. Hang them around your home for a spooky effect.
#4 Witch Hats from Cones
Materials: Black construction paper, scissors, tape.
Instructions: Cut a large circle for the base and a cone for the hat. Tape the cone to the circle and decorate with glitter or stickers.
#5 Ghost Lanterns
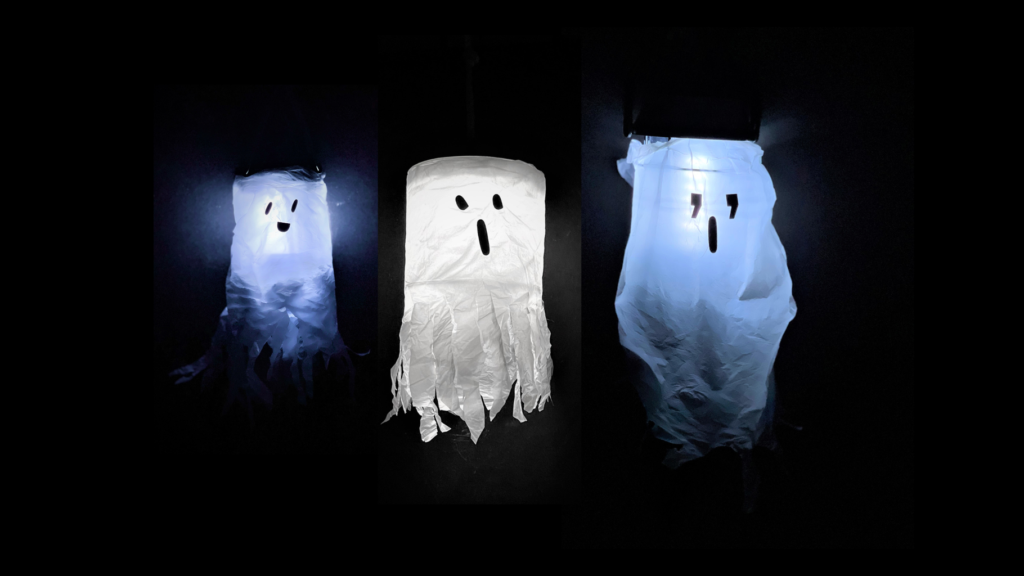
Materials: Empty jars, white fabric, LED tea lights, black marker.
Instructions: Drape the fabric over the jar, place the tea light inside, and draw ghost faces on the fabric.
#6 Handprint Bats
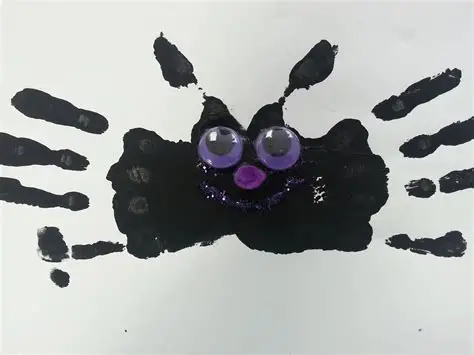
Materials: Black construction paper, white paint.
Instructions: Dip your child’s hand in white paint and press it onto the black paper to create a bat shape. Add eyes with a marker.
#7 Halloween Slime
Materials: White glue, baking soda, contact lens solution, food coloring.
Instructions: Mix equal parts glue and water. Add baking soda and a few drops of food coloring. Stir in contact lens solution until it thickens.
8 Pumpkin Seed Art
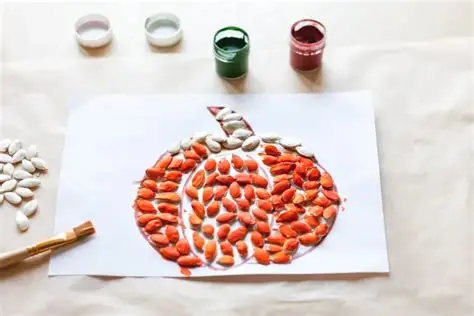
Materials: Pumpkin seeds, glue, paper.
Instructions: After carving a pumpkin, save the seeds. Use them to create art on paper by gluing them in various shapes.
#9 Ghostly Footprints
Materials: White paint, black paper.
Instructions: Dip your child’s foot in white paint and stamp it onto the black paper. Add eyes and a mouth to create a ghost.
#10 Candy Corn Garland
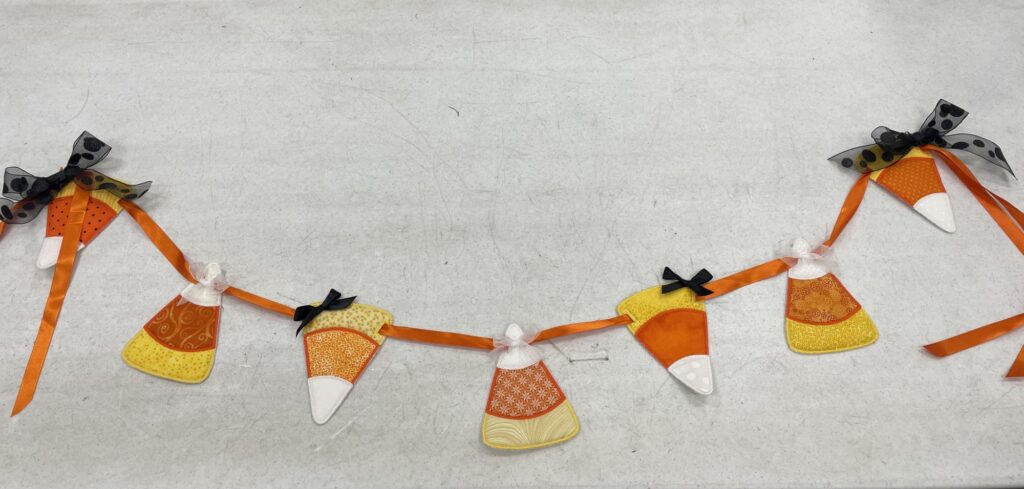
Materials: Yellow, orange, and white paper, scissors, string.
Instructions: Cut out triangles from the three colors, then glue them in order onto a string to create a festive garland.
#11 Mummy Jars
Materials: Empty jars, gauze or white fabric, googly eyes.
Instructions: Wrap the jar in gauze, leaving gaps for eyes. Glue googly eyes on top for a cute mummy effect.
#12 Felt Pumpkin Faces
Materials: Orange felt, green felt, scissors, glue.
Instructions: Cut pumpkin shapes from orange felt. Create various facial features from black and green felt and glue them on.
#13 Painted Pumpkin Centerpieces
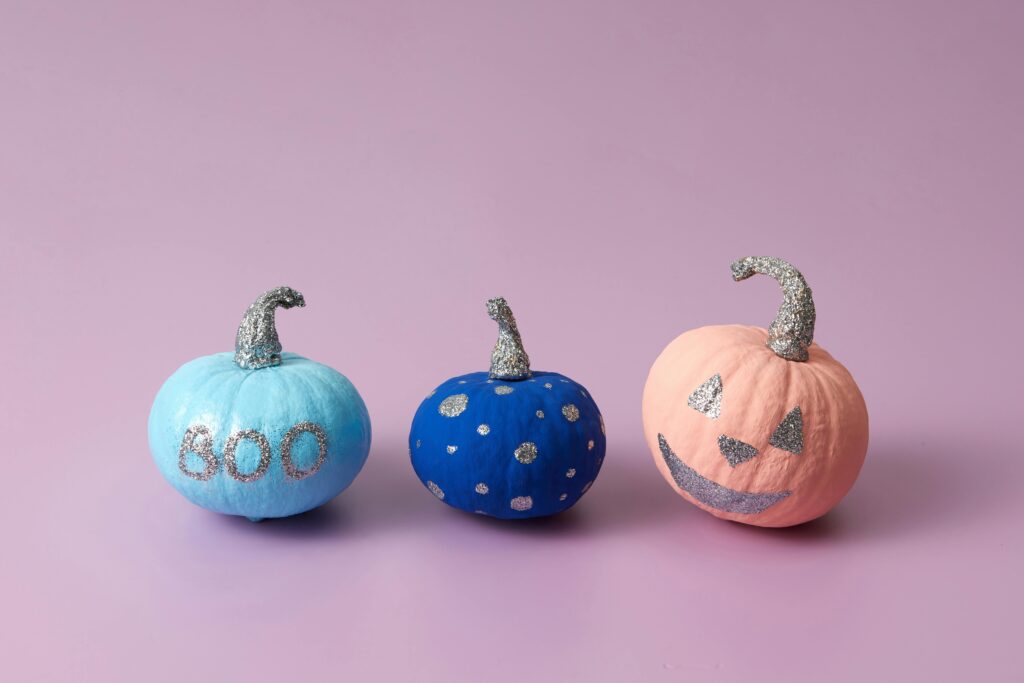
Materials: Pumpkins, acrylic paint, paintbrushes.
Instructions: Instead of carving, paint designs or patterns on pumpkins for a chic centerpiece.
#14 Halloween Wreaths
Materials: Wreath base, black and orange decorations, glue.
Instructions: Attach decorations like faux spiders, bats, and leaves to the wreath base using glue.
#15 Spooky Terrariums
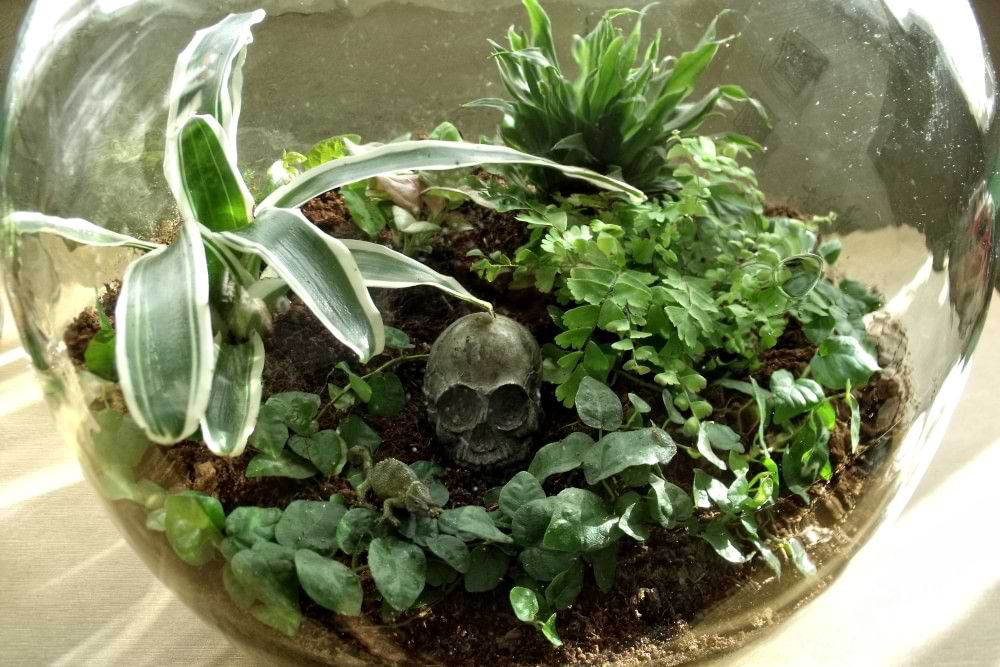
Materials: Glass container, soil, small plants, Halloween figurines.
Instructions: Layer soil and plants in the glass container, adding small Halloween figurines for a spooky touch.
#16 Skeleton Hand Candle Holders
Materials: Plastic skeleton hands, tea lights.
Instructions: Place tea lights in the palms of the skeleton hands for a creepy candle holder.
#17 Bat Silhouettes
Materials: Black cardstock, scissors, tape.
Instructions: Cut out bat shapes from the cardstock and tape them to the walls or windows for a haunting effect.
#18 Halloween Bingo
Materials: Bingo cards, markers.
Instructions: Create Halloween-themed bingo cards and use candy corn or small treats as markers.
#19 DIY Trick-or-Treat Bags
Materials: Plain tote bags, fabric markers, stencils.
Instructions: Use fabric markers to decorate tote bags with Halloween designs or names.
#20 Pumpkin Decorating Contest
Materials: Pumpkins, various decorating supplies (stickers, paint, etc.).
Instructions: Each family member decorates a pumpkin. Set up a judging panel for fun!
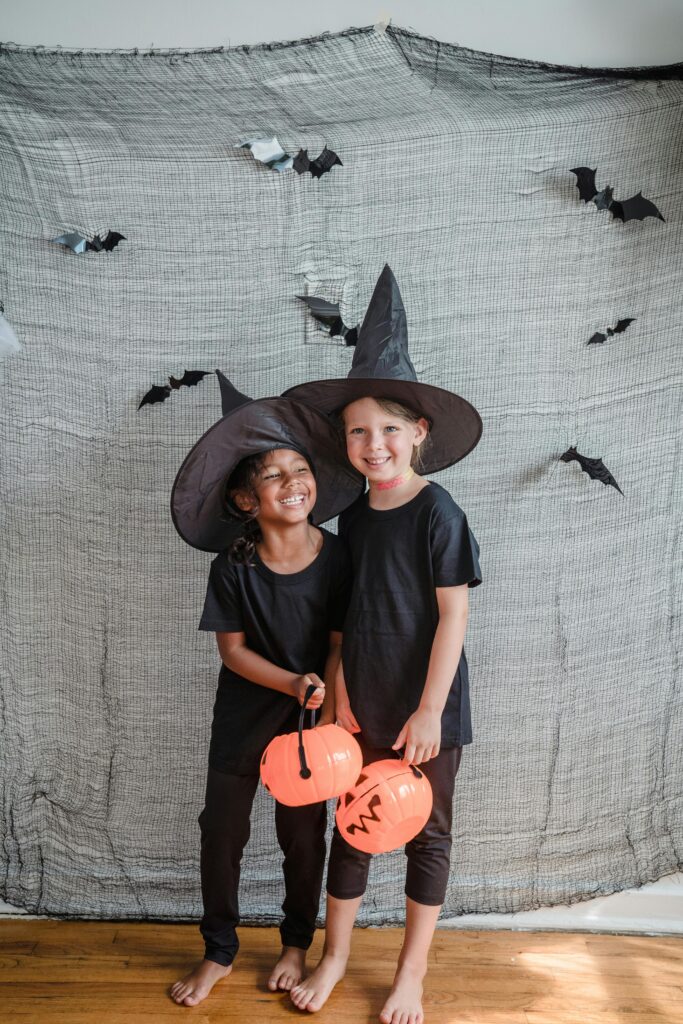
#21 Halloween-Themed Photo Booth
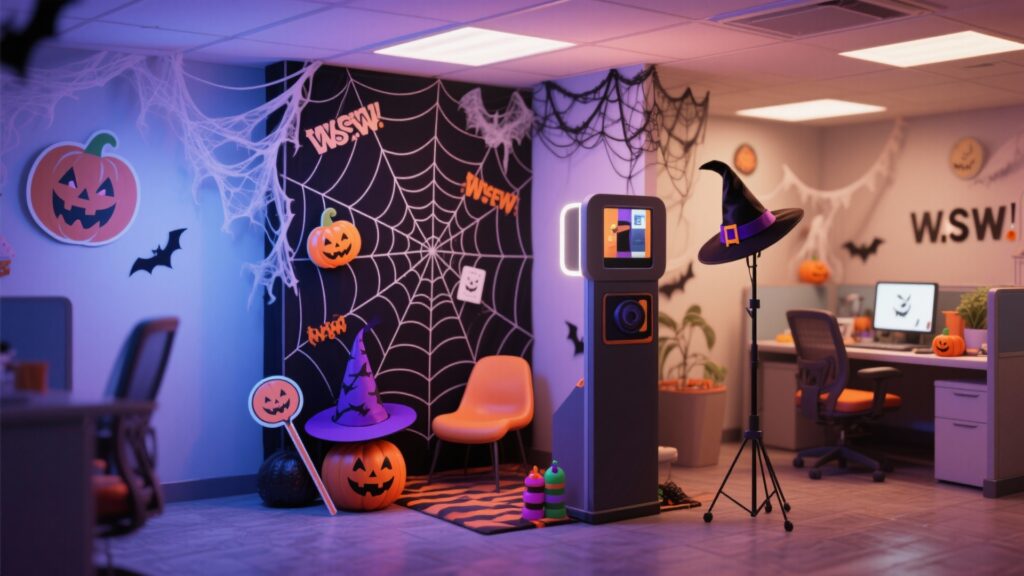
Materials: Props, backdrop, camera.
Instructions: Create a spooky backdrop and gather props for a Halloween photo shoot.
#22 DIY Halloween Costumes
Materials: Old clothes, fabric scraps, accessories.
Instructions: Use items you already have to create unique costumes. Encourage creativity and resourcefulness.
#23 Ghostly Lanterns
Materials: Empty milk jugs, LED tea lights, black marker.
Instructions: Draw ghost faces on the jugs, place a tea light inside, and set them outside for a spooky glow.
#24 Creepy Crawly Centerpieces
Materials: Fake spiders, black candles, a tray.
Instructions: Arrange fake spiders around black candles on a tray for a chilling centerpiece.
#25 Window Silhouettes
Materials: Black construction paper, scissors, tape.
Instructions: Cut out spooky shapes and tape them to your windows for a haunting look.
Tips for Crafting with Kids and Groups
When crafting with children or in groups, organization and safety are key. Here are some practical tips to ensure a smooth crafting experience.
- Set up a dedicated crafting space to minimize mess.
- Use washable materials whenever possible.
- Prepare all materials in advance to keep the process flowing.
- Encourage creativity by allowing kids to personalize their crafts.
- Supervise young children closely, especially when using scissors or other tools.