
Removing wallpaper can seem like a daunting task, but with the right approach and tools, it can be a manageable DIY project. Whether you’re looking to refresh your space with a new paint color or simply want to update the decor, this guide will walk you through the necessary steps and provide tips to ensure a smooth removal process.
#1 Preparation for Wallpaper Removal
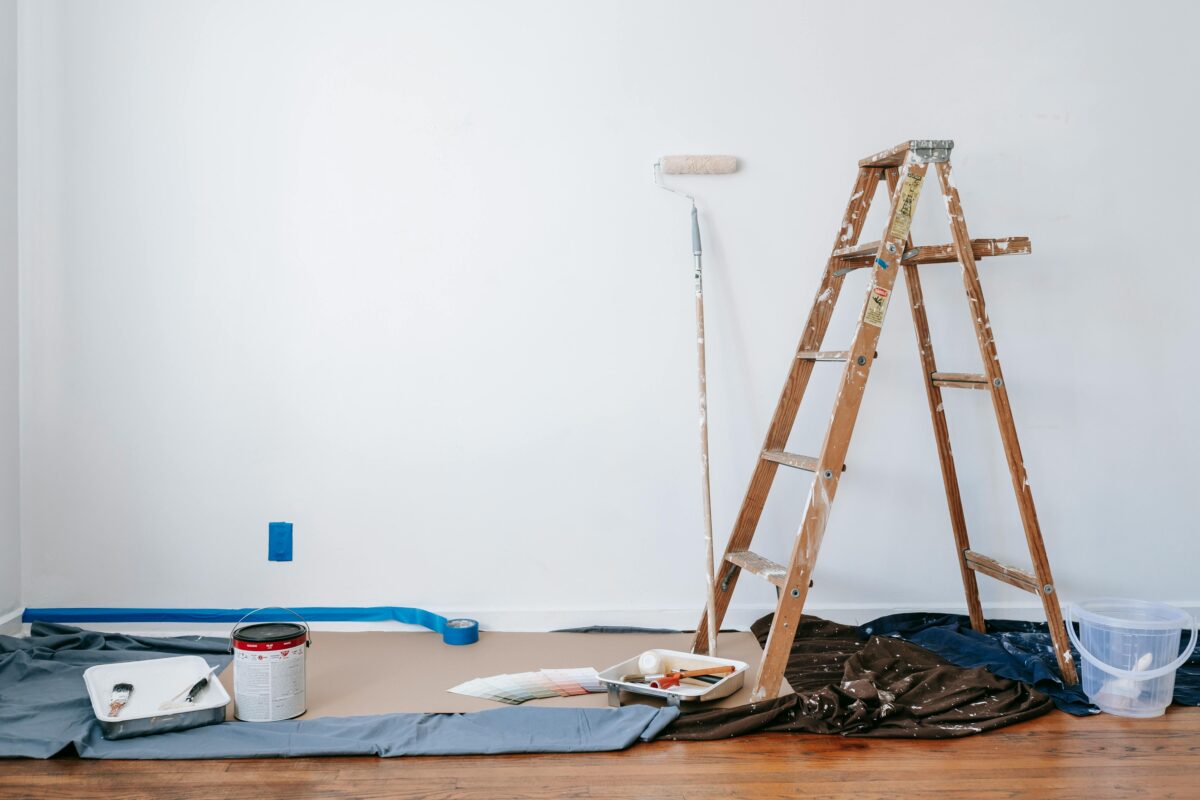
Before diving into the actual removal, adequate preparation is essential. Taking the time to gather your tools and materials will streamline the process and minimize potential issues.
Gathering Tools and Materials
- Wallpaper scraper or putty knife
- Wallpaper removal solution or a mixture of water and vinegar
- Spray bottle or sponge
- Drop cloths or plastic sheeting
- Bucket for mixing solutions
- Steamer (optional for stubborn wallpaper)
- Gloves and safety goggles
- Trash bags for disposal
Preparing the Room
To protect your floors and furniture, cover them with drop cloths or plastic sheeting. Remove any furniture or items from the walls to create a clear workspace. Ensure the room is well-ventilated to help the drying process and minimize exposure to any chemical solutions.
#2 Removing the Wallpaper
Now that you’ve prepared the space and gathered your tools, it’s time to start the removal process. The technique you choose may depend on the type of wallpaper you’re dealing with.
Assessing the Wallpaper Type
Understanding the type of wallpaper is crucial, as different materials require different removal methods.
- Strippable Wallpaper: This type can often be pulled off directly without much effort.
- Washable Wallpaper: Typically requires a solution to loosen the adhesive before removal.
- Vinyl Wallpaper: May need a steamer or a more intensive solution due to its durable nature.
Applying the Removal Solution
If your wallpaper is not strippable, start by applying a removal solution. Mix equal parts of water and vinegar in a spray bottle for a natural solution, or use a commercial wallpaper remover. Spray the solution generously onto the wallpaper, ensuring it penetrates the surface. Allow it to sit for about 15 minutes to loosen the adhesive.
Scraping the Wallpaper
Using a wallpaper scraper or putty knife, gently lift the edges of the wallpaper. Start at a corner or seam and work your way down. Be careful not to damage the wall underneath. If the wallpaper is stubborn, reapply the solution and wait a few more minutes before trying again.
Using a Steamer
For particularly difficult wallpaper, a steamer can be a game-changer. Hold the steamer against the wallpaper for a few seconds, allowing the steam to penetrate and loosen the adhesive. Follow this by scraping off the wallpaper with your scraper. Remember to work in small sections for the best results.
#3 Safety and Precautions
While removing wallpaper can be a straightforward task, adhering to safety precautions is important to protect yourself and your home.
Wearing Protective Gear
Always wear gloves and safety goggles when working with chemical solutions. This will protect your skin and eyes from irritation. If using a steamer, ensure you handle it with care to avoid burns.
Ensuring Adequate Ventilation
Keep windows open and fans running to ensure proper airflow. This is especially important if you are using chemical removal solutions, as fumes can be harmful in enclosed spaces.
#4 Troubleshooting Common Issues
Even with careful preparation and execution, issues may arise during wallpaper removal. Here are some common problems and solutions.
Wallpaper Won’t Come Off
If the wallpaper is resistant, it may be due to the type of adhesive used. Reapply your removal solution and give it additional time to work. If necessary, consider using a steamer, as the heat can help break down stubborn adhesives.
Wall Damage During Removal
Sometimes, the wall surface may get damaged during the scraping process. If you encounter this, avoid panic. Use spackle to fill in any holes or gouges once the wallpaper is removed. Sand the area smooth once it dries, preparing it for painting or new wallpaper.
Residual Adhesive
After removing the wallpaper, you may find leftover adhesive on the wall. This can be cleaned off with warm water and a sponge. For tougher residues, a commercial adhesive remover can be effective. Ensure the wall is clean and dry before proceeding with painting or re-wallpapering.
#5 Maintenance After Wallpaper Removal
Once the wallpaper is removed, it’s essential to prepare the walls for their next phase, whether that involves painting or applying new wallpaper.
Cleaning the Walls
Thoroughly clean the walls to remove any dust, grease, or remaining adhesive. A mixture of warm water and mild detergent can be effective. Rinse with clean water and allow the walls to dry completely.
Assessing Wall Condition
Inspect the walls for any imperfections or damage. This is the time to repair any holes or cracks using spackle. Sand the repaired areas smooth and wipe down the walls again to ensure they’re free of dust.
Choosing New Wall Treatments
Once the walls are clean and prepped, you can decide on your next steps. Whether you choose to paint, apply new wallpaper, or install a different wall treatment, ensure that the surface is suitable for your chosen method.
With careful preparation, the right tools, and a bit of patience, removing wallpaper can be an achievable DIY project. By following these steps, you can transform your space and create a fresh canvas for your next design endeavor.