
Starting plants from seed is a rewarding experience that allows you to cultivate a diverse range of plants at home. It not only saves money but also gives you the chance to nurture your plants from the very beginning. This seed starting guide will walk you through the essential steps for successfully planting seeds indoors, transplanting seedlings outdoors, and avoiding common mistakes along the way.
Growing plants from seeds offers numerous advantages. First, it grants you access to a wider variety of plant types, many of which may not be available as seedlings. Second, starting from seed allows for greater control over the growing conditions, such as soil quality and moisture levels. Finally, the sense of accomplishment that comes from nurturing a plant from seed to harvest is unparalleled.
Choosing the Right Seeds
Selecting the right seeds is crucial for a successful gardening experience. Consider the following factors when choosing seeds:
- Climate: Choose seeds suited to your local climate and growing season.
- Space: Consider how much space you have for your plants. Some seeds require more room than others.
- Purpose: Decide whether you want to grow flowers, vegetables, or herbs, and select seeds accordingly.
- Seed Quality: Purchase seeds from reputable sources to ensure high germination rates.
Essential Supplies for Seed Starting
Having the right supplies is essential for successfully planting seeds. Here’s a checklist of essential items:
- Seed trays or pots
- Seed starting mix (light and well-draining)
- Watering can or spray bottle
- Labels for marking different seeds
- Plastic wrap or humidity dome (to retain moisture)
- Grow lights or a sunny windowsill
- Fertilizer (for later stages)
Steps to Plant Seeds Indoors
Follow these concrete steps for planting seeds indoors:
- Prepare the Containers: Fill your seed trays or pots with seed starting mix, leaving about half an inch of space at the top.
- Moisten the Soil: Lightly water the soil until it’s damp but not soggy. This ensures good seed-to-soil contact.
- Sow the Seeds: Plant seeds at the recommended depth (usually found on the seed packet). Space them according to the guidelines.
- Cover and Protect: Lightly cover the seeds with soil and place a humidity dome or plastic wrap over the trays to retain moisture.
- Provide Light: Place the trays in a sunny location or under grow lights, ensuring they get 12-16 hours of light daily.
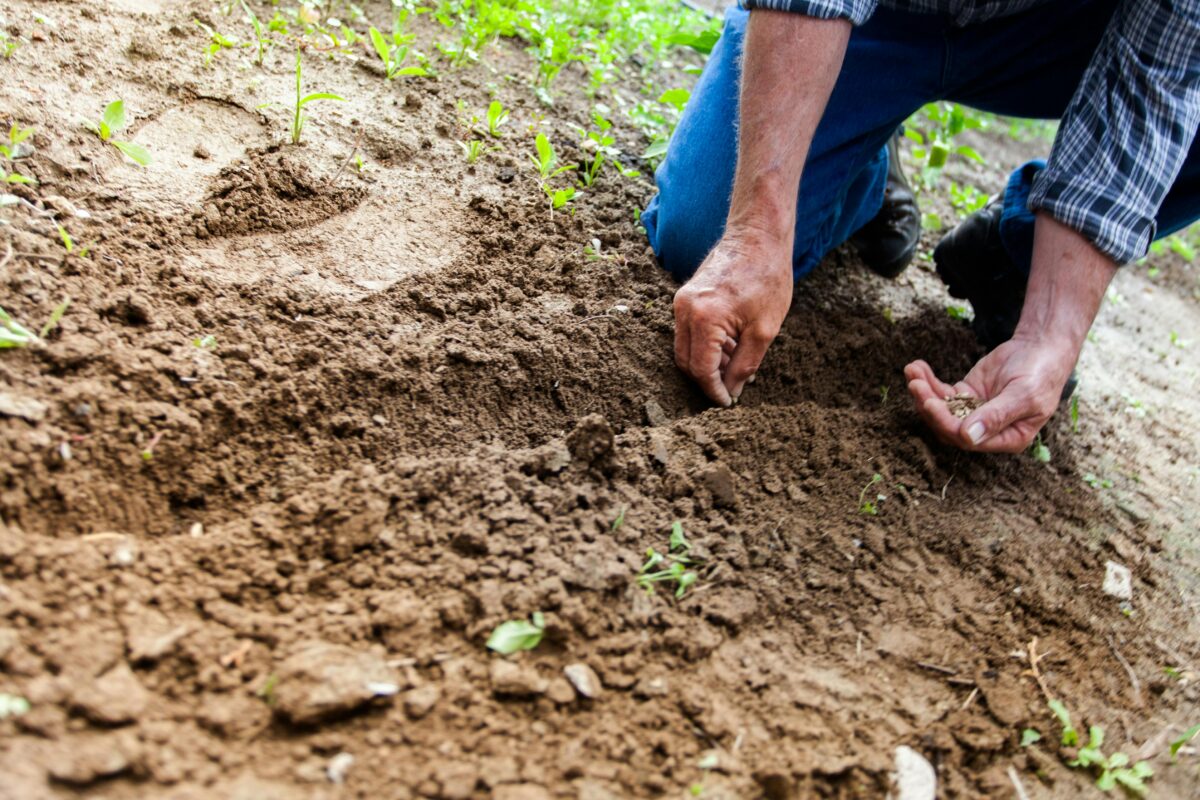
Transplanting Seedlings Outdoors
Once your seedlings have developed a few sets of true leaves and the outdoor conditions are suitable, it’s time to transplant them. Follow these steps:
- Harden Off the Seedlings: Gradually acclimate your seedlings to outdoor conditions by placing them outside for a few hours each day, increasing the duration over a week.
- Choose the Right Time: Transplant on a cloudy day or in the evening to reduce transplant shock.
- Prepare the Garden Bed: Ensure the soil is well-tilled and free of weeds. Create holes in the soil according to the spacing required for your plants.
- Transplant Carefully: Gently remove the seedlings from their containers, taking care not to damage the roots. Place them in the prepared holes and cover with soil.
- Water Thoroughly: After transplanting, water the seedlings well to help them settle into their new environment.
Common Mistakes and How to Avoid Them
Even experienced gardeners can make mistakes. Here are some common pitfalls and how to avoid them:
- Overwatering: Ensure that containers have drainage holes and only water when the top inch of soil feels dry.
- Insufficient Light: If seedlings become leggy, they are likely not receiving enough light. Adjust their position or increase light exposure.
- Planting Too Early: Be aware of your local frost dates and ensure seedlings are not exposed to cold temperatures.
- Neglecting to Harden Off: Skipping the hardening-off process can shock seedlings. Always acclimate them gradually.
- Using Poor Quality Soil: Invest in a good seed starting mix to promote healthy root development.
Example: Planting Tomato Seeds (Step-by-Step)
Here’s a practical example of how to plant tomato seeds:
- Gather Supplies: You’ll need seed trays, seed starting mix, tomato seeds, labels, and a spray bottle.
- Fill Containers: Fill your seed trays with seed starting mix, leaving space at the top.
- Moisten the Soil: Lightly spray the mix with water until damp.
- Sow the Seeds: Plant tomato seeds about ¼ inch deep and space them according to the packet instructions.
- Cover and Protect: Cover the seeds lightly with soil and place a humidity dome over the trays.
- Provide Light: Set the trays under grow lights or in a sunny area.
- Transplant When Ready: Once seedlings have true leaves and have been hardened off, transplant them outdoors in a sunny spot.
Tips for Success: Troubleshooting
To ensure your seed starting journey is successful, consider the following quick tips:
- Regularly check for pests and diseases.
- Maintain consistent moisture levels without overwatering.
- Rotate your seedlings to ensure even light exposure.
- Keep a gardening journal to track your progress and learn from your experiences.
By following these guidelines, you can confidently embark on your journey of planting plant seeds and nurturing them into thriving plants. Whether you’re growing vegetables for your kitchen or flowers for your garden, starting from seed is an enriching experience that will enhance your gardening skills.