
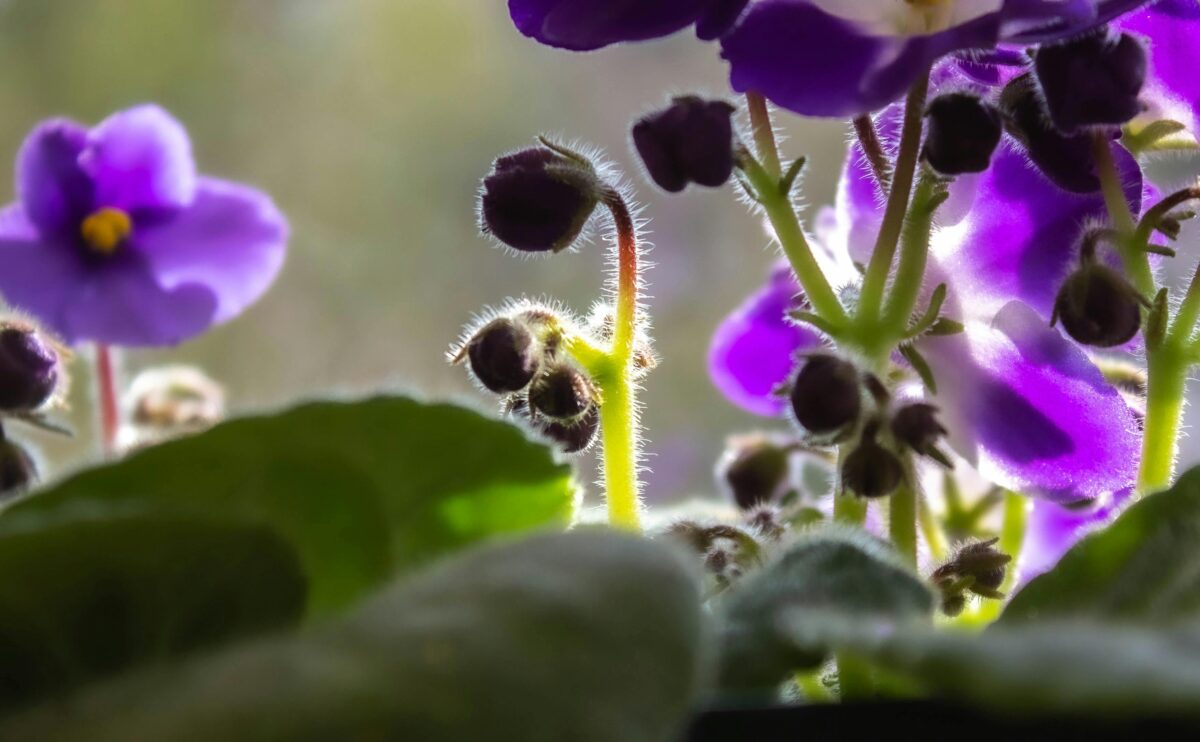
Pots for African violets play a crucial role in their overall health and growth. These charming houseplants, known for their vibrant blooms and velvety leaves, thrive best when provided with the right environment. Choosing the ideal pot not only enhances their aesthetic appeal but also supports their unique watering and root needs. In this article, we will explore the importance of selecting the right pot, the various types available, and practical potting and care tips to help your African violets flourish.
Why Choosing the Right Pot Matters for African Violets
Proper pots for African violets ensure that the plants receive adequate drainage, aeration, and room for growth. Here are some key reasons why pot selection is vital:
- Drainage: African violets are susceptible to root rot if their roots sit in water. Pots with drainage holes allow excess moisture to escape, preventing waterlogged soil.
- Size: The right pot size facilitates healthy root development. A pot that is too small can constrict growth, while one that is too large can retain excess moisture.
- Material: Different materials affect moisture retention and temperature control, which are crucial for the delicate roots of African violets.
Types of Pots for African Violets
When selecting pots for African violets, consider the following types, each with its own advantages and disadvantages:
Plastic Pots
- Lightweight and easy to handle.
- Good drainage options available.
- Retain moisture well, making them suitable for African violets.
- Can be less aesthetically pleasing compared to other materials.
Ceramic Pots
- Often more decorative and visually appealing.
- Heavy and stable, reducing the risk of tipping over.
- Porous, allowing for better air circulation but may retain moisture longer.
- Ensure they have drainage holes to prevent root rot.
Self-Watering Pots
- Designed with a reservoir to provide consistent moisture levels.
- Ideal for busy plant owners as they reduce the frequency of watering.
- Help prevent overwatering, which is crucial for African violets.
- Monitor the water level to avoid stagnant water in the reservoir.
Clay Pots
- Highly breathable, allowing for excellent air circulation around the roots.
- Heavy and stable, reducing the chance of tipping.
- Can dry out quickly, requiring more frequent watering.
- Less suitable for beginners who may struggle with moisture management.
Step-by-Step Guide: Potting African Violets
Proper potting is essential for the health of your African violets. Follow these steps for effective potting:
Gather your materials:
- Pot with drainage holes
- Quality African violet potting mix
- Water
- Scissors or pruning shears
- Small trowel or spoon
Prepare the pot:
- Fill the pot with a few inches of potting mix.
- Ensure there is enough space for the plant roots.
- Remove the African violet from its old pot:
- Gently squeeze the sides of the pot to loosen the roots.
- Carefully pull the plant out, avoiding damage to the roots.
Trim any damaged roots:
- Use clean scissors to remove any dead or mushy roots.
- Position the plant in the new pot:
- Place the African violet in the center of the pot.
- Fill in around the roots with more potting mix, ensuring the crown of the plant is level with the soil surface.
Water thoroughly:
- Water the plant until moisture drains from the bottom.
- Place the pot in a suitable location:
- Ensure it receives bright, indirect light.
Essential Care Instructions: Soil, Light, and Water Needs
To ensure your African violets thrive, pay close attention to their soil, light, and watering requirements:
Soil Requirements
- Use a specially formulated African violet potting mix that retains moisture while providing good drainage.
- A mix containing peat moss, perlite, and vermiculite is ideal.
Light Requirements
- African violets prefer bright, indirect light. Direct sunlight can scorch their leaves.
- Consider placing them near a north or east-facing window for optimal light exposure.
Watering Needs
- Water when the top inch of soil feels dry to the touch.
- Use room temperature water, as cold water can shock the plant.
- Water at the base of the plant to avoid wetting the leaves, which can lead to leaf spots and rot.
Seasonal Checklist for African Violet Care
Maintaining your African violets involves seasonal care. Here’s a checklist to guide you through each season:
Spring
- Repot if the plant has outgrown its pot.
- Fertilize with a balanced, water-soluble fertilizer every 4-6 weeks.
Summer
- Monitor for pests, such as aphids and spider mites.
- Ensure adequate humidity, especially during hot weather.
Fall
- Reduce watering as growth slows down.
- Start preparing for winter by ensuring proper light conditions.
Winter
- Keep plants away from cold drafts and heating vents.
- Continue to monitor humidity and water needs carefully.
Common Issues: Pests, Disease, and Pot Problems
African violets can face various challenges. Here are common issues and how to resolve them:
Leaf Spots
- Cause: Overwatering or water on leaves.
- Solution: Ensure proper watering practices and avoid wetting the leaves.
Leggy Growth
- Cause: Insufficient light.
- Solution: Move the plant to a brighter location, ensuring it receives indirect sunlight.
Pests
- Common pests include aphids, mealybugs, and spider mites.
- Solution: Treat with insecticidal soap or neem oil, and regularly inspect plants for signs of infestation.
Recommended Tools and Safety Tips for Repotting
Having the right tools makes potting easier and safer. Here are some essential tools and safety tips:
Essential Tools
- Small trowel or spoon for transferring soil.
- Pruning shears for trimming roots and leaves.
- Watering can with a long spout for precise watering.
- Gloves to protect your hands from soil and potential irritants.
- Measuring cup for accurate fertilizer application.
Safety Tips
- Wear gloves when handling soil to prevent irritation.
- Use clean tools to reduce the risk of spreading disease.
- Keep a first aid kit on hand for minor injuries while gardening.